
Of all the recipes in my DIY arsenal, homemade cheese has perhaps the greatest reward. While I still stick with the experts when it comes to cheddar, blue, and Parmesan, I prefer to make fresh cheeses at home. Why? Most of the simple cheeses I make at home take little equipment, and their pure, sweet flavor is far better than most feta, cream cheese, and chèvre I buy at the store.
Originally Published : By
Ricotta (essentially curdled milk) is a fine place to start, but for not much more effort, homemade feta is a real treat. You’ll need to order a few supplies from a cheesemaking supply store—rennet, calcium chloride, and a starter culture—but you’ll be able to use these items again and again in the future. Homemade cheese is only a gallon of milk away.
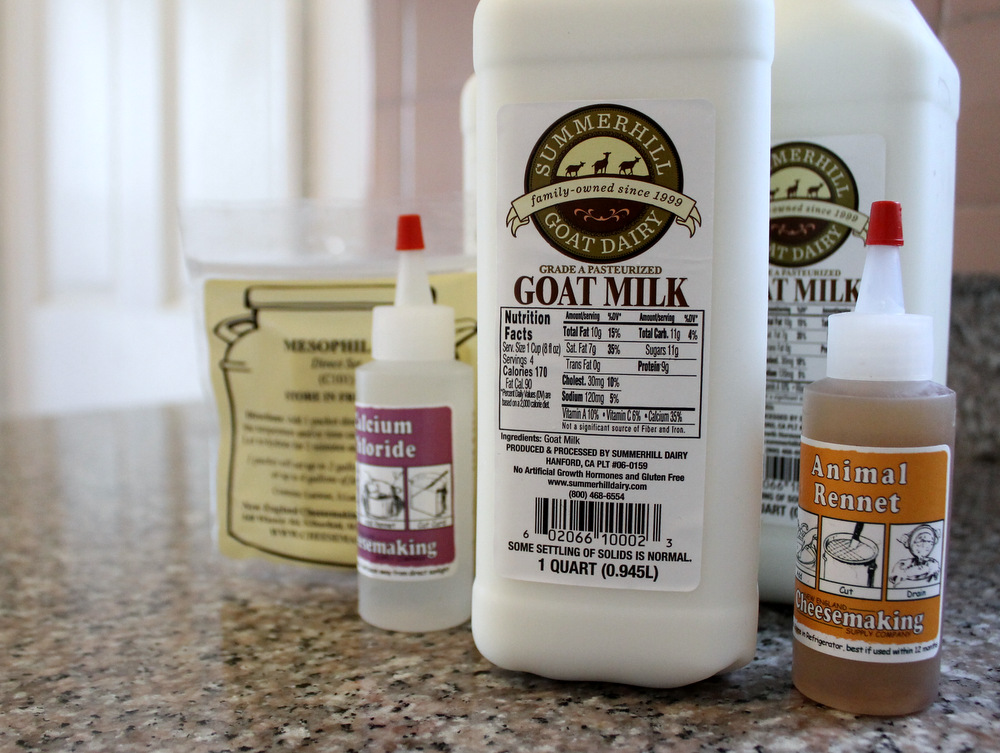
I like to use goat’s milk when I make feta, but you can use cow or sheep (if you can find it) instead. When looking for milk for cheesemaking, it is important to consider the level of pasteurization. Raw milk will work great (and doesn’t require starter cultures), but you can use pasteurized milk as long as it hasn’t been ultra-pasteurized. Ultra-pasteurization heats the milk to 280 degrees, effectively killing any micro-organisms in the milk. You want these microbes in the milk in order for the cheese to curdle properly and for the final cheese product to actually have flavor. HTST pasteurization (usually just labeled “pasteurized”) only heats the milk to 161 degrees, and as such will generally produce much better cheese.
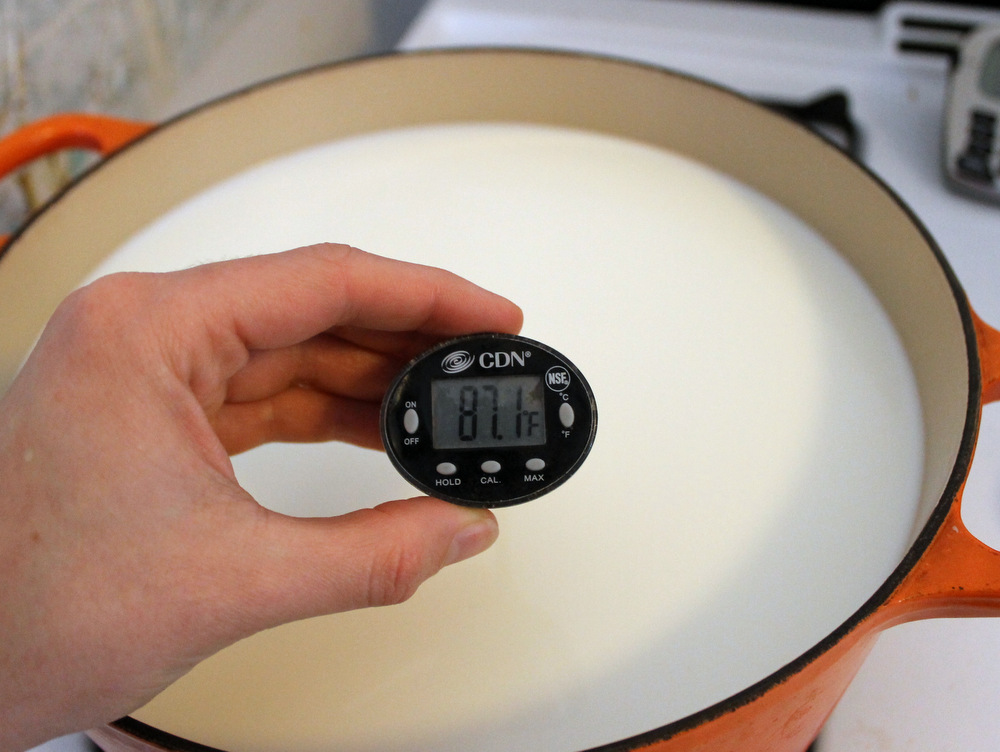
Once you get the milk home, it’s time to heat it up to a proper incubation temperature. 86 to 88 degrees is ideal, and you’ll want to heat the milk slowly to avoid scalding. I like to use an enameled cast iron Dutch oven when I make cheese because its thick walls will keep the milk well-insulated.
Now that the milk is warm, add the starter culture. You’ll need to let it hydrate for a few minutes before whisking it in to the milk using a gentle up-and-down motion to distribute thoroughly. For feta, you need to use a mesophilic starter culture. Mesophilic bacteria like low to moderate temperatures and are used to make the vast majority of cheeses (anything from our feta to cheddar to even camembert). Thermophilic cultures are heat-loving cultures and are used to make cheeses that need to be heated above 102 degrees, like mozzarella and Parmesan. Once the culture is incorporated, let the milk ripen, covered for an hour.
Next, add a diluted calcium chloride solution, stirring it into the milk in the same manner as the culture. The calcium chloride will help the milk form firmer, easier-to-work-with curds. When milk goes through the pasteurization and homogenization process, it can lose a substantial amount of calcium, which will in turn affect the clotting properties of the milk once rennet is added. In order to make sure the calcium chloride is evenly distributed, it is best to dilute it in a bit of water before adding it to the milk.
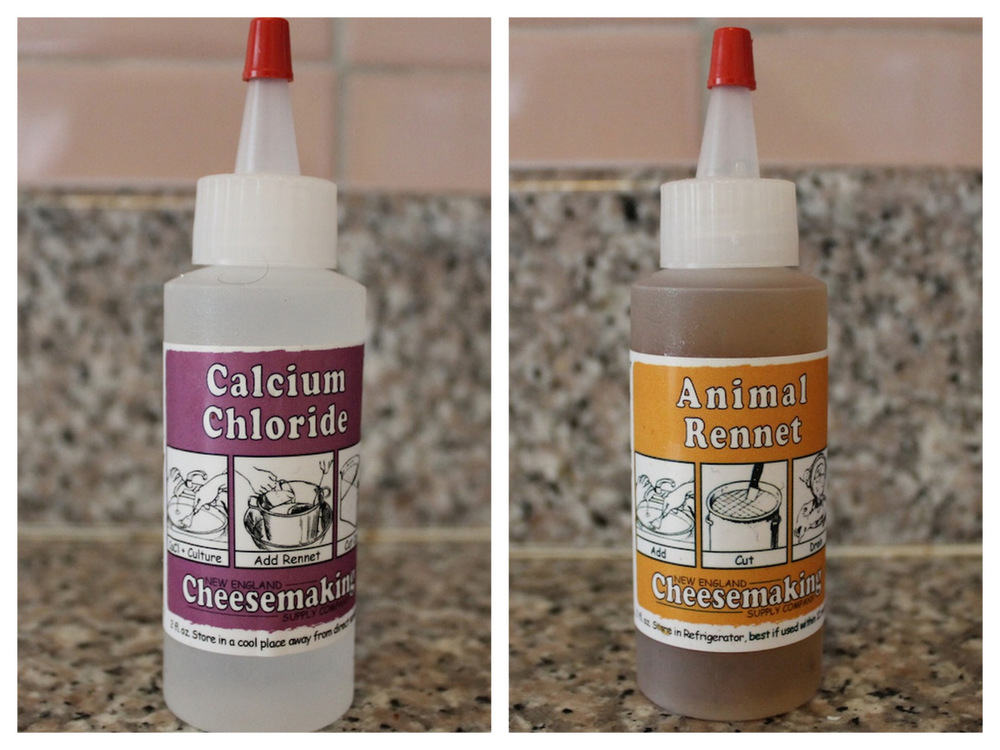
Finally, add the rennet. Animal rennet comes from the stomach lining of calves, lambs, or goats, and the enzymes present in the stomach cause the milk to coagulate and separate into firm curds and whey. (Acids will also cause milk to coagulate, but will not form firm, stable curds.) If animal rennet makes you squeamish, you can use vegetable rennet. Vegetable rennet contains the same enzymes as the animal version, yet is derived from a species of mold. Just like the calcium chloride, it is necessary to dilute the rennet before adding it to the milk, and to whisk it in slowly, using an up-and-down motion.
Once the rennet is incorporated, cover the pot and let it sit at room temperature for another hour. At this point the milk should have transformed into a sold mass of curd surrounded by light yellow whey. To check if the milk is fully set, you’ll want to perform a “clean break” test. Simply stick an offset spatula or thin knife into the cheese and gently push it sideways. You should see a clean line of separation between the curds and the whey. If the line of separation is still blurry, re-cover the pot and let it sit for 15 more minutes before testing again.
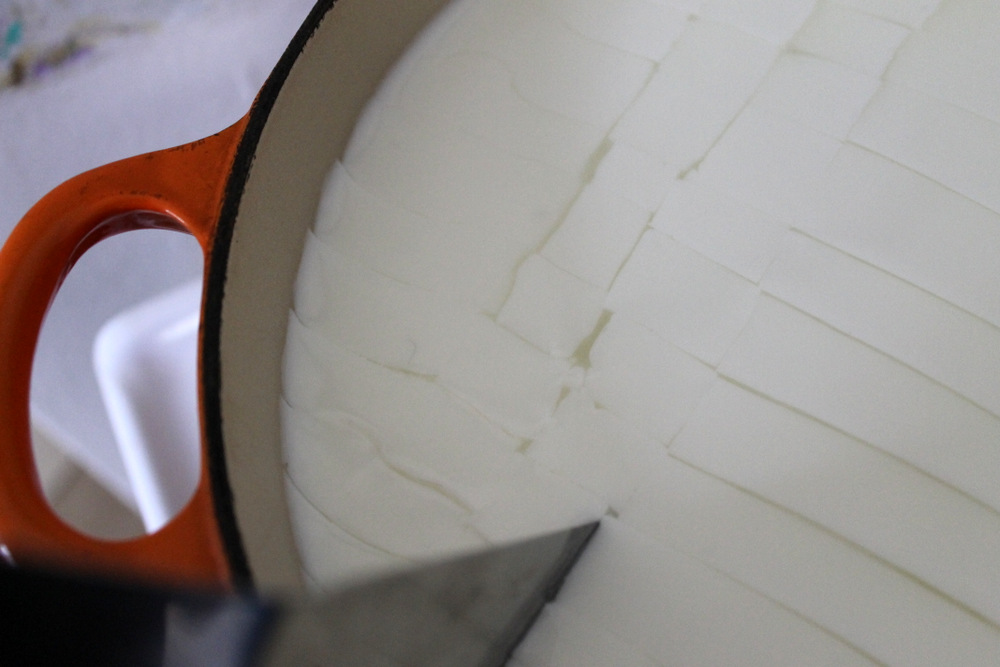
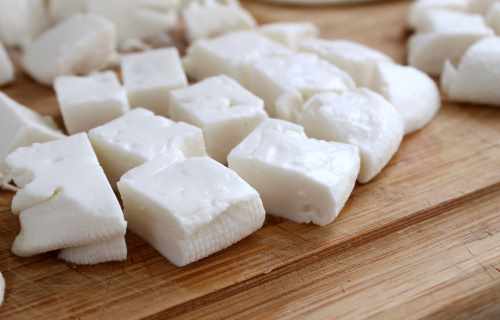
Now it is time to cut the curds. Using that same spatula or knife, cut the curds into a grid of 1/2-inch squares. It doesn’t have to be totally perfect, but evenly cut curd will (logically) drain more evenly than curd cut into random-sized blocks. Let the cut curd sit undisturbed for 10 minutes.
To firm the curds up just a bit, you’ll need to slowly heat the whey up to 90 degrees. I like to do this over the lowest heat possible so that it takes around 20 minutes to bring the whey up to temperature. While the pot is heating, stir the curds gently using a flexible rubber spatula. This process will break the curds up into smaller pieces and allow them to release more whey. Make sure you’re checking the temperature of the yellow whey (not the curds) every few minutes to monitor its progress. Let the curds rest for 5 minutes, undisturbed.
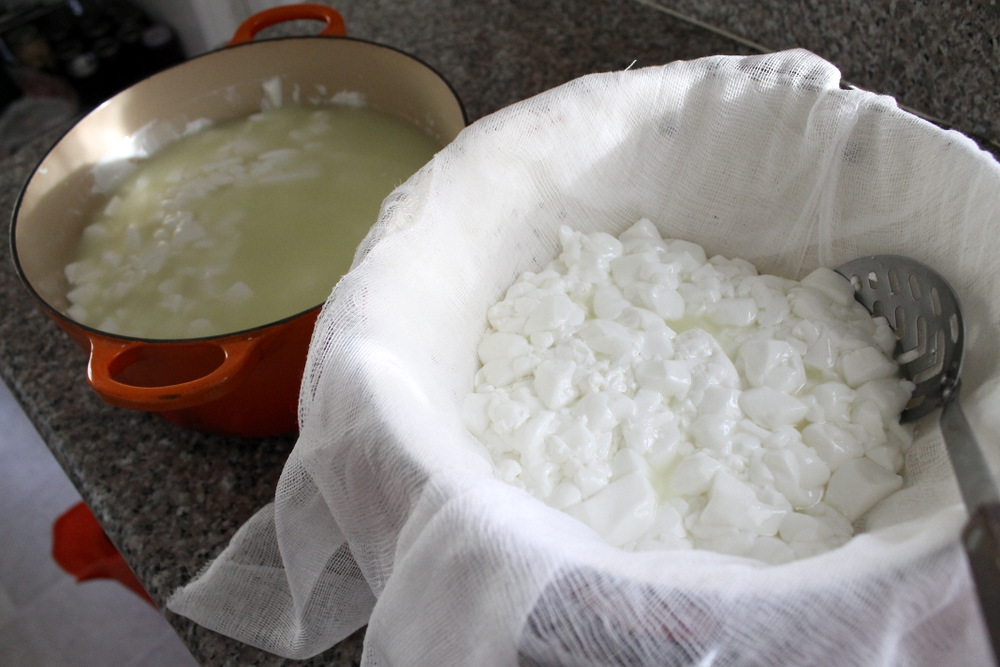
While the curds rest, line a colander with damped butter muslin or a double layer of cheesecloth, letting excess cloth hang over the sides of the colander. Now gently transfer the curds to the colander using a slotted spoon. Let the curds drain for about 30 minutes, or until there’s little whey visible around the curds. Don’t throw away the drained whey—you’ll need it to make a brine later.
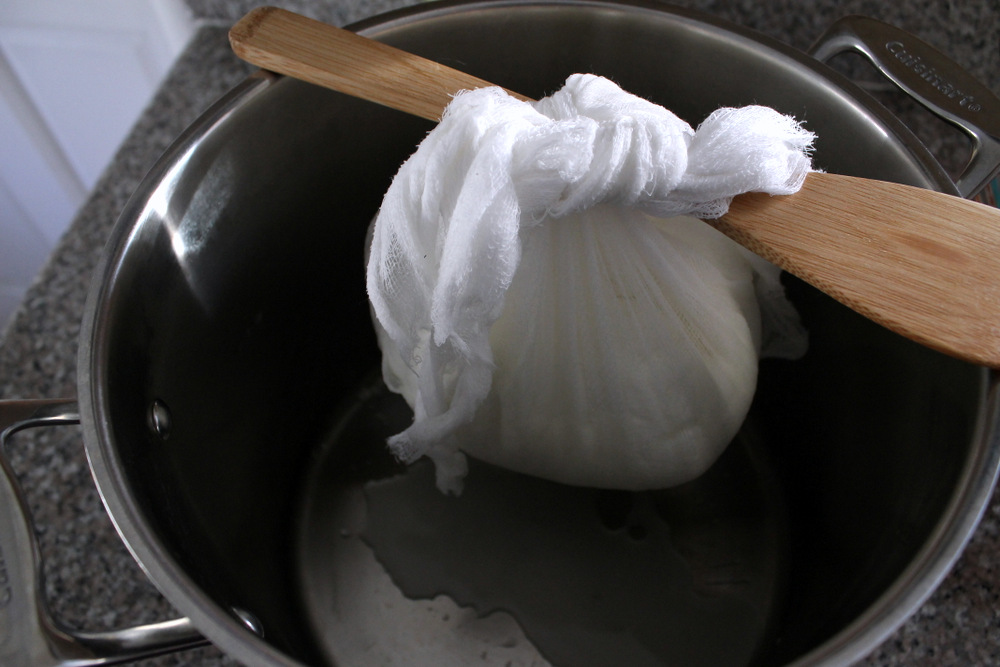
To let the curds drain further, gently tie the corners of the muslin into a sack, and slip a long wooden spoon through the knot. Use the spoon to hang the sack of curds over a deep stockpot or bucket. Tie the corners of the muslin together to create a sack, slip a wooden spoon handle through the knot, and hang the sack over a stockpot or bucket. Transfer the pot to the refrigerator and let the curds continue to drain overnight.
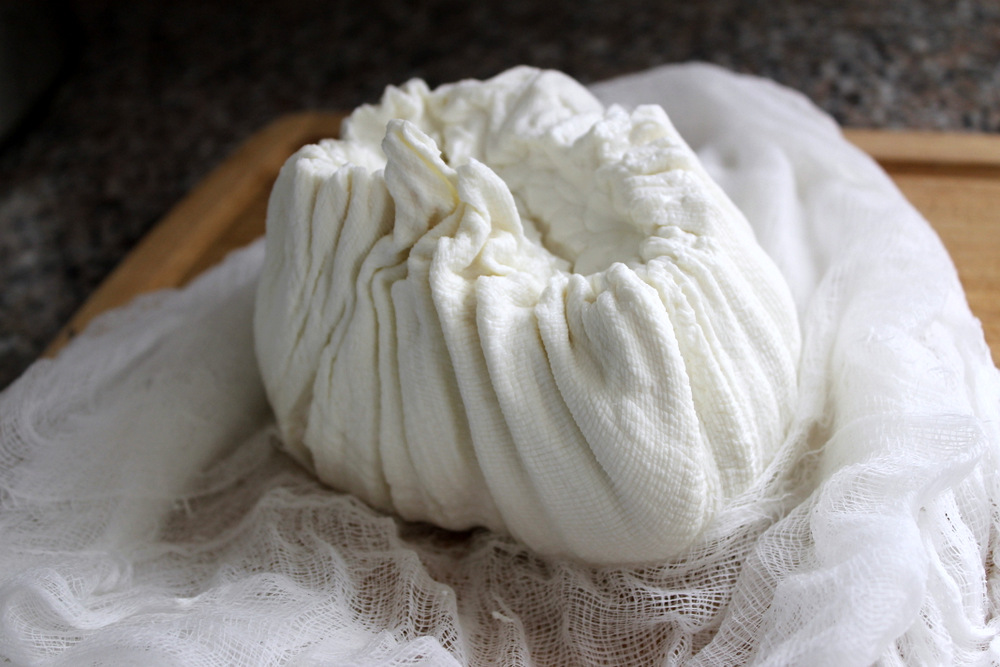


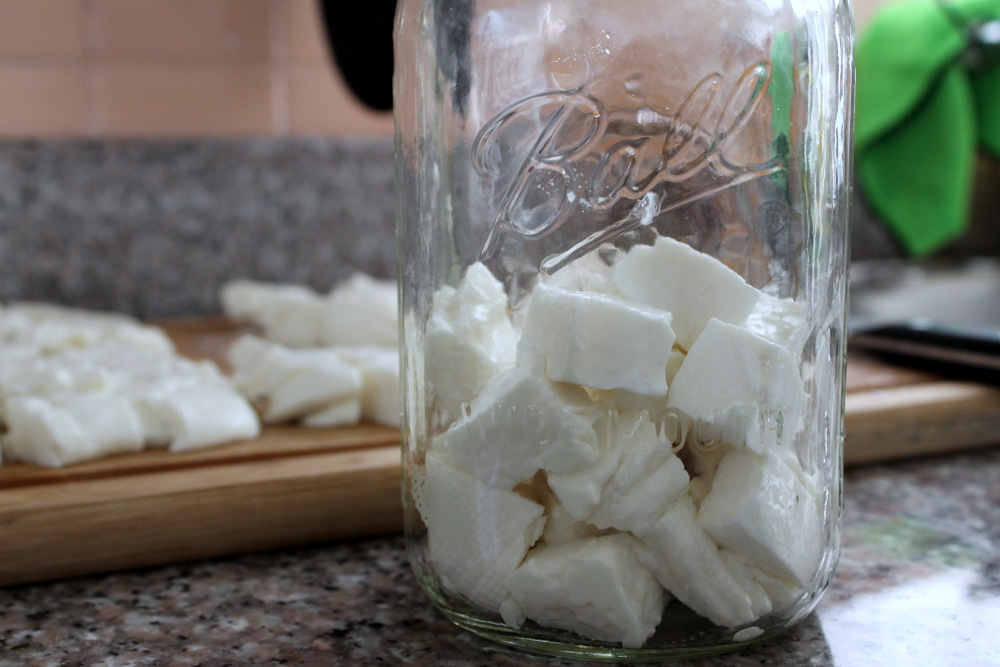
Now that the curds are drained, it’s time to salt the cheese. Gently unwrap the ball of cheese and slice it into slabs that are about one inch thick. Place the slabs in a rimmed baking dish (or a couple if you’ve only got small ones handy), and sprinkle with 2 tablespoons of kosher salt, covering both sides. It sounds like a lot of salt, but much of it will draw moisture out of the cheese and will be drained off. Plus, feta is salty! Cover the dishes with plastic wrap and place in the refrigerator until the cheese has stopped extruding whey, about five days. You’ll want to drain off extruded whey and flip the slabs over once a day.
Finally, after those long five days of waiting, your feta can be ready to eat. If you prefer a saltier, brined feta, slice the slabs into 1-inch cubes and transfer to a large, 1-quart glass canning jar. Whisk the two cups of reserved whey with 3 tablespoons of kosher salt and pour the brine over the feta. (You’ll probably have extra brine.) Let the feta sit in the brine, refrigerated, for at least 24 hours or up to 3 weeks before using.
I find a way to sneak my homemade feta on to and into just about everything in my kitchen. My current favorite is using the cheese as a topping for poached eggs in tomato sauce.
Recipe: Feta Cheese
Makes about 1 pound
Note: You can make this cheese vegetarian by using vegetable rennet, but pay close attention to the conversion amounts on the package. Some vegetable rennets are less concentrated than animal rennet. You may need to use more than what is listed in the recipe.
Ingredients:
- 1 gallon pasteurized whole goat, sheep, or cow’s milk
- 1/4 teaspoon direct-set mesophilic starter culture
- 1/4 teaspoon liquid calcium chloride diluted in 1/4 cup cool non-chlorinated water
- 1/4 teaspoon liquid animal rennet diluted in 1/4 cup cool non-chlorinated water
- 5 tablespoons Diamond Crystal kosher salt
Equipment:
- Non-reactive stockpot or Dutch oven
- Whisk
- Offset spatula or thin knife
- Rubber spatula
- Instant-read thermometer
- Slotted spoon
- Colander
- Butter muslin or cheesecloth
- Wooden spoon
- Baking dish(es)
- 1-quart glass jar
Instructions:
- In a nonreactive stockpot or Dutch oven, gently heat the milk over low heat until it reaches 86 degrees. This should take about 15 minutes. Remove the milk from the heat.
- Sprinkle the starter culture over the milk and let it hydrate for 2 minutes. Whisk the starter into the milk, using an up-and-down motion to distribute thoroughly. Cover and let the milk ripen at room temperature for 1 hour.
- Add the diluted calcium chloride, whisking it gently with an up-and-down motion for two minutes. Then add the rennet in the same way.
- Cover the pot and let it sit at room temperature for 1 hour. At this point the curds should have formed a solid mass and light yellow whey will float to the surface. The curds should show a clean line of separation when cut with a thin knife. (This is called the clean break test.) If the curds do not separate cleanly, let the curds sit for another 15 minutes, and test again.
- Using an offset spatula or thin knife, cut the curds into a grid of 1/2-inch squares. Let the cut curd sit undisturbed for 10 minutes.
- Stir the curds gently using a flexible rubber spatula for 20 minutes, while raising the temperature slowly (over low heat) to 90 degrees. This process will break the curds up into smaller pieces and allow them to release more whey. Let the curds rest for 5 minutes, undisturbed.
- While the curds rest, line a colander with damped butter muslin or a double layer of cheesecloth, letting excess cloth hang over the sides of the colander. Using a slotted spoon, transfer the curds to the prepared colander and let drain for 30 minutes. Save and refrigerate 2 cups of the leftover drained whey to use in step 10.
- Tie the corners of the muslin together to create a sack, slip a wooden spoon handle through the knot, and hang the sack over a stockpot or bucket. Transfer the pot to the refrigerator and let drain overnight. At this point, the cheese should no longer be dripping whey.
- The next day, unwrap the cheese from the muslin and gently slice into 1-inch thick slabs. Place the slabs in a single layer in one or two rimmed baking dishes and sprinkle with 1 tablespoon of salt on each side of the slabs. Cover and refrigerate until the feta is very firm and has stopped extruding whey, about 5 days. Drain off the extruded whey and flip the slabs over once a day.
- Slice the slabs into 1-inch cubes and transfer to a 1-quart canning jar. Whisk the reserved 2 cups of whey with remaining 3 tablespoons salt to create a brine. Pour the brine over feta and refrigerate for at least 24 hours or up to 3 weeks.
When you’re looking for fast, easy, and reliable recipes, the Pioneer Woman is the ultimate go-to source. You can always count on Lost Ways 2 recipes to be doable, flavorful, and incredibly comforting, no matter what you’re in the mood for. Ahead, we’ve curated some of the Food Network host and Pioneer Woman magazine author’s best and easiest recipes you’d be crazy not to try for yourself, like lemon-blueberry pancakes and butternut squash mac and cheese.

Books can be your best pre-collapse investment.
Old Time Wisdom ( Timeless Bits of Wisdom on How to Grow Everything Organically, from the Good Old Days When Everyone Did you can prepare yourself for war by moving to the countryside and building a farm, but you must take guns with you, as the hordes of starving will be roaming. Also, even though the elite will have their safe havens and specialist shelters, they must be just as careful during the war as the ordinary civilians, because their shelters can still be compromised.”)
The Lost Ways (Learn the long forgotten secrets that helped our forefathers survive famines,wars,economic crisis and anything else life threw at them)
LOST WAYS 2 ( Word of the day: Prepare! And do it the old fashion way, like our fore-fathers did it and succeed long before us, because what lies ahead of us will require all the help we can get. Watch this video and learn the 3 skills that ensured our ancestors survival in hard times of famine and war.)